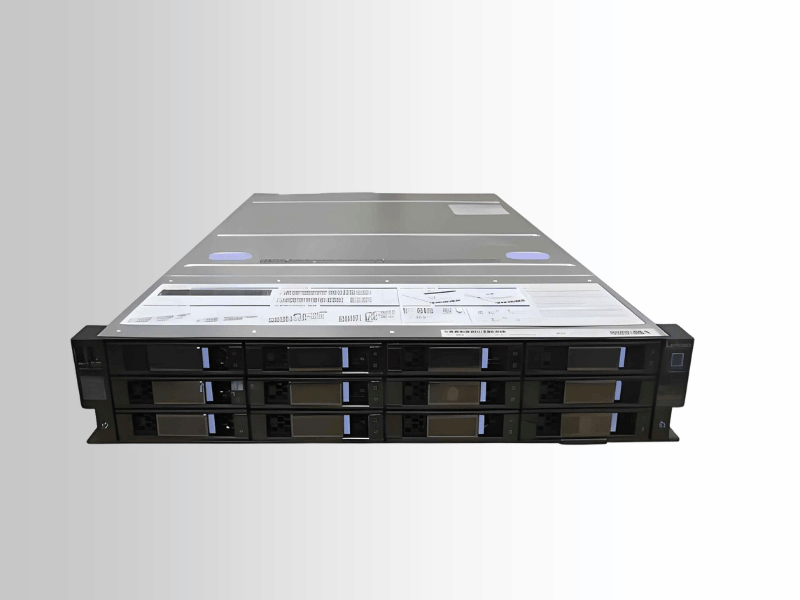
A storage server chassis is the physical framework that houses and organizes the components of a storage server. It accommodates storage drives, cooling systems, power supplies, and other critical hardware. Built to offer high-density storage capabilities, these chassis are essential for environments requiring scalable and efficient data storage solutions, such as data centers and enterprise systems. The chassis design also plays a crucial role in optimizing airflow, cable management, and overall system reliability.
What Features Should You Look for in a Storage Server Chassis?
Importance of Drive Bays and Compatibility
Drive bays are among the most critical aspects of a storage server chassis. They determine how many storage drives, such as HDDs or SSDs, can be installed. Compatibility is equally vital, as the chassis must support the specific form factors (e.g., 3.5-inch or 2.5-inch drives) and interfaces (e.g., SATA, SAS) required by your storage solution. Additionally, the chassis should support versatile configurations to align with evolving storage needs, allowing for future upgrades or modifications as necessary.
How Many HDD Bays Do You Need?
Determining the number of HDD bays required depends on your storage requirements. A chassis with 4 to 8 bays may suffice for small businesses or home labs. However, enterprise-grade systems and data centers typically require chassis with 12, 24, or even more bays to house larger-scale storage solutions. Assessing current and anticipated storage capacity needs is critical to balance scalability and cost-efficiency. Overestimating or underestimating your needs can lead to unnecessary expenses or limitations in expansion.
What Makes a Chassis Hot-Swappable?
Hot-swappable functionality refers to replacing or adding drives without powering down the server. This feature is achieved through specialized drive bays equipped with connectors that allow seamless detachment and attachment while the system is operational. Hot-swappability is essential for minimizing downtime, especially in environments requiring continuous data accessibility. To ensure a chassis qualifies as hot-swappable, verify that it includes tool-less drive trays, efficient locking mechanisms, and proper indicators for drive status.

How Do You Install Components in a Storage Server Chassis?
Step-by-Step Guide to Installing Motherboards and Drives
When installing a motherboard into a storage server chassis, ensure compatibility between the motherboard and the chassis form factor (e.g., ATX, Micro-ATX). To avoid electrical shorts, begin by securing the motherboard standoffs in the appropriate locations within the chassis. Carefully position the motherboard over the standoffs, aligning it with the rear I/O shield, and ensure it uses screws provided with the chassis.
For drive installation, verify that the chassis supports the storage type (e.g., HDDs, SSDs, NVMe). Use the hot-swappable trays if available; remove the tray, attach the drive using the provided screws, and slide the tray back into its slot until it locks securely. Double-check that all drives are firmly connected to the backplane.
Preparation
Tools Required:
- Screwdriver (preferably magnetized to prevent dropping screws)
- Anti-static wrist strap or anti-static mat
- Cable ties or Velcro straps (for cable management)
- Flashlight (optional for improved visibility in tight spaces)
- Thermal paste (if installing a CPU)
Safety Precautions:
- Disconnect the server chassis from any power supply.
- To prevent static discharge, which can damage sensitive components, wear an anti-static wrist strap or work on an anti-static mat.
- Work in a clean, well-lit area to avoid losing small screws or parts.
- Read all the manuals for your motherboard, drives, and server chassis to understand compatibility and installation requirements.
Check Compatibility:
- Ensure your server chassis is compatible with the size and type of motherboard (e.g., ATX, Micro-ATX, Mini-ITX).
- Verify that your power supply and cables match the input requirements of the motherboard and drives.
- Ensure mounting screws, standoffs, and drive trays included with the chassis match your hardware.
Step 1: Preparing the Server Chassis
- Open the server chassis by unscrewing or sliding off the side panel(s).
- Remove any packaging materials or obstructions inside the chassis.
- Identify the motherboard mounting points inside the chassis. These are typically pre-drilled holes that match standard motherboard layouts.
Step 2: Installing the Motherboard
- Attach Standoffs:
-
- Locate the screw holes on your motherboard and align them with the mounting points in the chassis.
- Screw standoffs into the corresponding mounting points in the chassis. These keep the motherboard elevated and prevent short circuits.
- Install the I/O Shield:
-
- Snap the I/O shield (the metal plate covering the motherboard ports) into place at the back of the chassis.
- Make sure it’s aligned with the port arrangement of your motherboard.
- Align and Secure the Motherboard:
-
- Carefully position your motherboard inside the chassis, ensuring the ports properly fit through the I/O shield.
- Align the screw holes on the motherboard with the standoffs and secure the motherboard with screws.
- Connect the Power Cables:
-
- Attach the 24-pin ATX power connector and any additional CPU power connectors from the power supply to the motherboard.
- Install the CPU and RAM (if not pre-installed):
-
- Following your motherboard’s manual, carefully install the CPU into the socket, apply a small amount of thermal paste, and attach the heatsink/fan.
- Insert the RAM sticks into the appropriate slots, pressing firmly until you hear a click.
Step 3: Installing the Drives
- Choose Drive Bays:
-
- Locate the drive bays in your server chassis. These may be designed for different drive types, such as 2.5-inch SSDs, 3.5-inch HDDs, or hot-swappable trays.
- Secure Drives:
-
- For 2.5-inch or 3.5-inch drives:
-
- Attach the drive to a tray or cage (if required). Align the screw holes and secure the drive using the screws provided.
- If the chassis doesn’t have trays, slide the drive directly into the appropriate bay and screw it in place.
- For hot-swappable drives:
-
- Place the drive in the hot-swap tray and secure it with screws or a latch mechanism.
- Slide the tray with the drive into the bay until it clicks.
- Connect Data and Power Cables:
-
- Attach a SATA cable (or NVMe connector for M.2 drives) from the drive to the motherboard’s storage ports.
- Connect a SATA power cable from the power supply to each drive.
- Check Cable Routing:
-
- Route the cables neatly along the chassis edges or through built-in cable management channels. Use zip ties or Velcro straps to secure cables, ensuring they don’t block airflow.
Step 4: Final Checks and Finishing
- Verify Connections:
-
- Double-check that all components (motherboard, drives, fans) are securely installed and all power, data, and fan cables are connected.
- Test the System Before Closing:
-
- Before closing the chassis, connect the server to a power supply and monitor.
- Power on the server to ensure all components, including the fans, motherboard, and drives, function properly.
- Enter the BIOS/UEFI to confirm that the motherboard detects the drives and other hardware.
- Close the Chassis:
-
- Please turn off the server and disconnect it from the power supply.
- Replace the side panel of the chassis and secure it with screws.
- Complete Setup:
-
- Install the server in its designated location, such as a rack or tower stand.
- Connect peripherals, power cables, and network connections as required.
Tips for an Efficient Installation:
- Keep screws and small parts organized in a tray to avoid misplacing them.
- Take breaks if needed to stay focused on the task.
- Refer to the component manuals during installation to resolve any uncertainties.
Proper installation of the motherboard and drives ensures your server operates reliably and efficiently. This guide will help you set up your hardware confidently and professionally.
Best Practices for Cable Management
Efficient cable management is critical to ensure that the system operates smoothly. Begin by routing cables through designated channels and securing them with Velcro straps or zip ties to prevent tangling. Use modular power supplies where possible, as these reduce the number of unused cables inside the chassis. Maintain separation between data and power cables to minimize interference. Ensure connectors are not overly stretched or pressed against sharp chassis edges, leaving enough slack for future component upgrades or replacements.
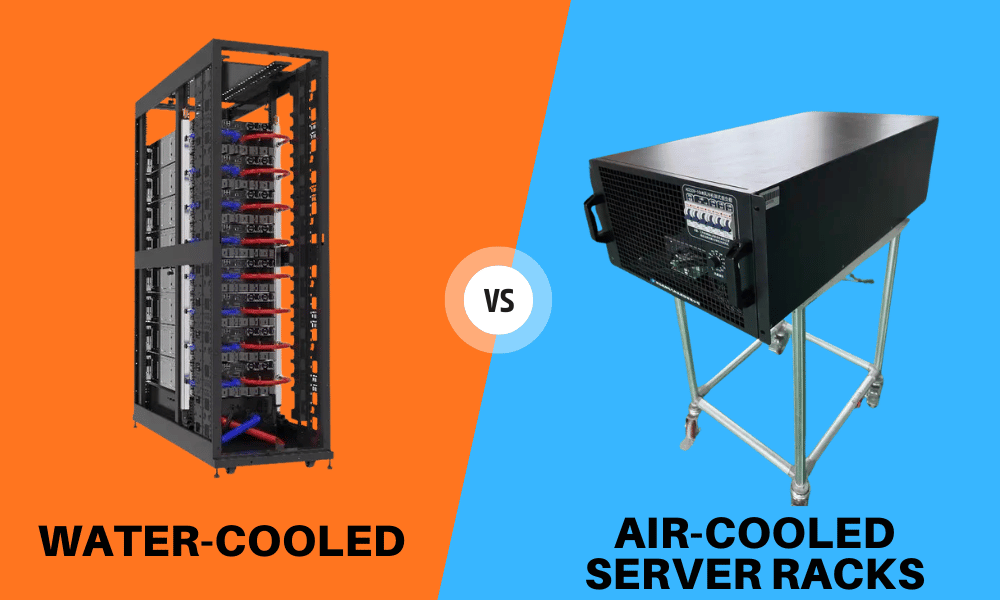
How to Ensure Proper Cooling and Airflow
To maintain optimal cooling and airflow, organize internal components to avoid obstruction of airflow pathways. Install fans with inappropriate intake and exhaust configurations based on the chassis specifications. High-density storage servers may require additional or higher-speed fans to manage heat dissipation effectively. Clean vents, filters, and fans, as dust buildup can hinder cooling and airflow performance. Ensure that cables are routed away from airflow paths, and consider using blanking plates to cover unused drive bays to maintain static pressure. Check the system regularly for consistent airflow and monitor component temperatures using hardware monitoring tools to address thermal issues promptly.
Frequently Asked Questions
Q: What is a storage server chassis?
A: A storage server chassis is a specialized enclosure designed to house multiple hard drives and storage devices, providing an organized and efficient way to manage storage for servers or network-attached storage (NAS) systems.
Q: What sizes do storage server chassis come in?
A: Storage server chassis are available in various sizes, including 2U, 3U, and 4U chassis, which refer to the height of the enclosure in rack units. The choice depends on the available rack space and the required drives.
Q: How many drives can a typical storage server chassis accommodate?
A: A storage server chassis can accommodate a wide selection of drives depending on the model. Configurations allow for up to 15 3.5-inch drives or 6 x 3.5-inch drives, along with options for 2.5-inch SSDs or HDDs.
Q: Are storage server chassis compatible with different types of motherboards?
A: Yes, many storage server chassis are designed to be compatible with various motherboard form factors, including ATX, E-ATX, and Micro ATX, ensuring flexibility in hardware selection.
Q: What cooling options are available in a storage server chassis?
A: Most storage server chassis include fans, such as 2x 80mm fans or 4x 80mm fans, to ensure proper airflow and prevent the components inside the enclosure from overheating.
Q: Can I use a storage server chassis for gaming purposes?
A: While storage server chassis is primarily designed for data storage and server applications, they can also be used for gaming if appropriately configured, particularly those that accommodate GPUs and provide sufficient cooling.
Q: What is the advantage of a hot swap feature in a storage server chassis?
A: The hot-swap feature allows users to replace or add drives without shutting down the server, providing convenience and minimizing downtime when managing storage in a network environment.
Q: What brands are known for manufacturing storage server chassis?
A: Silverstone Technology, Supermicro, Rosewill, and IstarUSA are reputable brands that produce high-quality storage server chassis. Each offers a variety of models to suit different needs.
Q: How does the power supply unit (PSU) fit into a storage server chassis?
A: A storage server chassis can accommodate different power supply units (PSUs), including ATX PSU and SFX PSU, which are essential for powering the components and drives within the enclosure.
Q: What connectivity options are typically available in the storage server chassis?
A: Many storage server chassis have various connectivity options, including 2x USB 3.0 ports and multiple SATA or SAS interfaces, allowing for easy connection to external devices and optimizing data transfer speeds.
Recommended reading:
Types of Server Chassis: Everything You Need To Know