Choosing a server chassis based on rack unit size alone is one of the most common — and costly — mistakes in infrastructure procurement. A 2U chassis that looks right on paper can still arrive on-site incompatible with your motherboard, unable to accommodate your PSU, or lacking the drive-bay configuration your storage workload requires.
Chassis compatibility touches every layer of your server build: internal dimensions, mounting geometry, power architecture, storage interface support, airflow path, and room for future growth. Getting it wrong means delays, re-orders, and in some cases, a complete redesign.
This guide covers the five areas that matter most when evaluating chassis compatibility:
- Why compatibility extends well beyond external dimensions
- Motherboard form factor and mounting alignment
- PSU format, power budget, and airflow
- Drive bay configuration and storage interface support
- A practical pre-purchase checklist to confirm fit before you commit
Why Server Chassis Compatibility Matters Beyond Size
A 2U or 4U designation tells you how much rack space a chassis occupies. It tells you very little about what fits inside it.
Internal clearance, mounting hole patterns, PSU bay design, backplane layout, and cable routing space all vary significantly between chassis models — even within the same rack unit category. Two chassis labeled “4U ATX” from different manufacturers may differ in CPU cooler height clearance by 20mm, in drive bay count by a factor of two, and in whether they support a standard ATX PSU or require a proprietary format.
For IT buyers and system integrators, these details determine whether a build comes together on the first attempt or results in weeks of re-procurement and re-engineering. For infrastructure teams managing deployments at scale, compatibility errors multiply quickly across units.
The practical implication: validate chassis compatibility against your specific motherboard, PSU, and storage configuration before purchasing — not after.
Motherboard Compatibility: Form Factor, Mounting, and I/O Alignment
Motherboard compatibility starts with form factor. Server and workstation chassis are typically designed around one or more of the following standards:
- E-ATX (Extended ATX): Up to 305mm × 330mm. Common in high-end workstations, multi-socket servers, and storage platforms with dense expansion requirements.
- ATX: 305mm × 244mm. The most widely supported form factor across both tower and rackmount chassis.
- microATX: 244mm × 244mm. Fits in ATX-compatible chassis but limits expansion slot count.
- Mini-ITX: 170 mm × 170 mm. Compact and space-efficient; suited for edge nodes and low-power deployments, though chassis support is more limited in the server space.
Before selecting a chassis, confirm which form factors it explicitly supports. Many chassis support multiple sizes, but verify this in the manufacturer’s specifications rather than assuming a physically smaller board will fit in a larger chassis without issue. Clearance for rear I/O shields, mounting post positions, and internal component zones is all form-factor-dependent.
Mounting hole alignment is equally important. Standard ATX uses a defined hole pattern, but some server boards — particularly those using Intel’s SSI EEB or SSI MEB standards — use different spacing. If you’re building around a server-grade board, check whether the chassis uses standard ATX mounting or supports SSI layouts.
Rear I/O alignment must also match. The chassis rear panel cutout needs to align precisely with your motherboard’s I/O shield. Misalignment is more common than it sounds, particularly when mixing server boards with chassis originally designed for desktop ATX standards. Confirm the I/O area dimensions and position in the chassis spec sheet.
Finally, check CPU cooler clearance height. Rackmount chassis have strict internal height limits. A 2U chassis may support coolers up to 65mm; a 4U chassis typically allows more headroom. Match this against your CPU TDP requirements and cooler dimensions before finalizing your build.
PSU Compatibility: Format, Power Budget, Airflow, and Connectors
Power supply compatibility is often overlooked until it becomes a problem on the bench. Server chassis vary widely in their PSU support, and the wrong format means the unit simply won’t mount — or won’t fit at all.
PSU form factors to verify:
- ATX PSU: Standard in tower servers and many 4U rackmount builds. Easy to source, with a wide range of wattage options and connector configurations.
- Redundant PSU modules: Common in enterprise-grade 1U and 2U chassis. These hot-swap into a chassis-integrated bay and are not interchangeable with standard ATX units. If your chassis uses a proprietary redundant PSU design, you’re limited to compatible modules — verify part numbers before purchasing the chassis.
- 1U / Flex ATX / SFX: Compact form factors used in space-constrained builds. Lower wattage ceilings, so confirm these units can handle your full system load, including drives, expansion cards, and peak CPU draw.
Power budget is a separate but related consideration. Add up the TDP of your CPU, the power draw of all drives, any GPUs or PCIe cards, fans, and memory. Apply a 20–25% overhead for efficiency headroom, and confirm your PSU — and the chassis PSU bay design — can support that load. Under-specifying the PSU relative to the chassis’s drive capacity is a common issue in high-density storage builds.
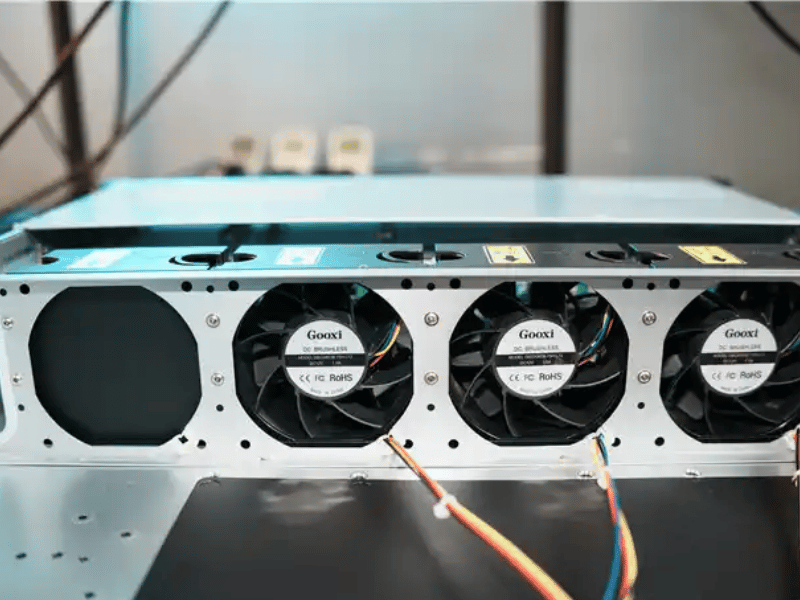
Airflow path matters more in chassis design than most buyers account for. In a well-designed server chassis, PSU placement supports a defined front-to-rear or bottom-to-rear airflow path. A PSU mounted in the wrong orientation or a chassis where the PSU exhaust conflicts with the main cooling path will push hot air back over components. Verify that the chassis and PSU are designed for compatible airflow directions.
Connector availability is the last checkpoint. Confirm your PSU provides the correct connectors for your motherboard (24-pin ATX, 8-pin CPU, additional EPS connectors for multi-CPU boards), plus sufficient SATA and Molex for your drive count. In rackmount builds, also verify cable length — PSUs mounted at the rear of a deep chassis may not reach front-mounted drive backplanes without extensions.
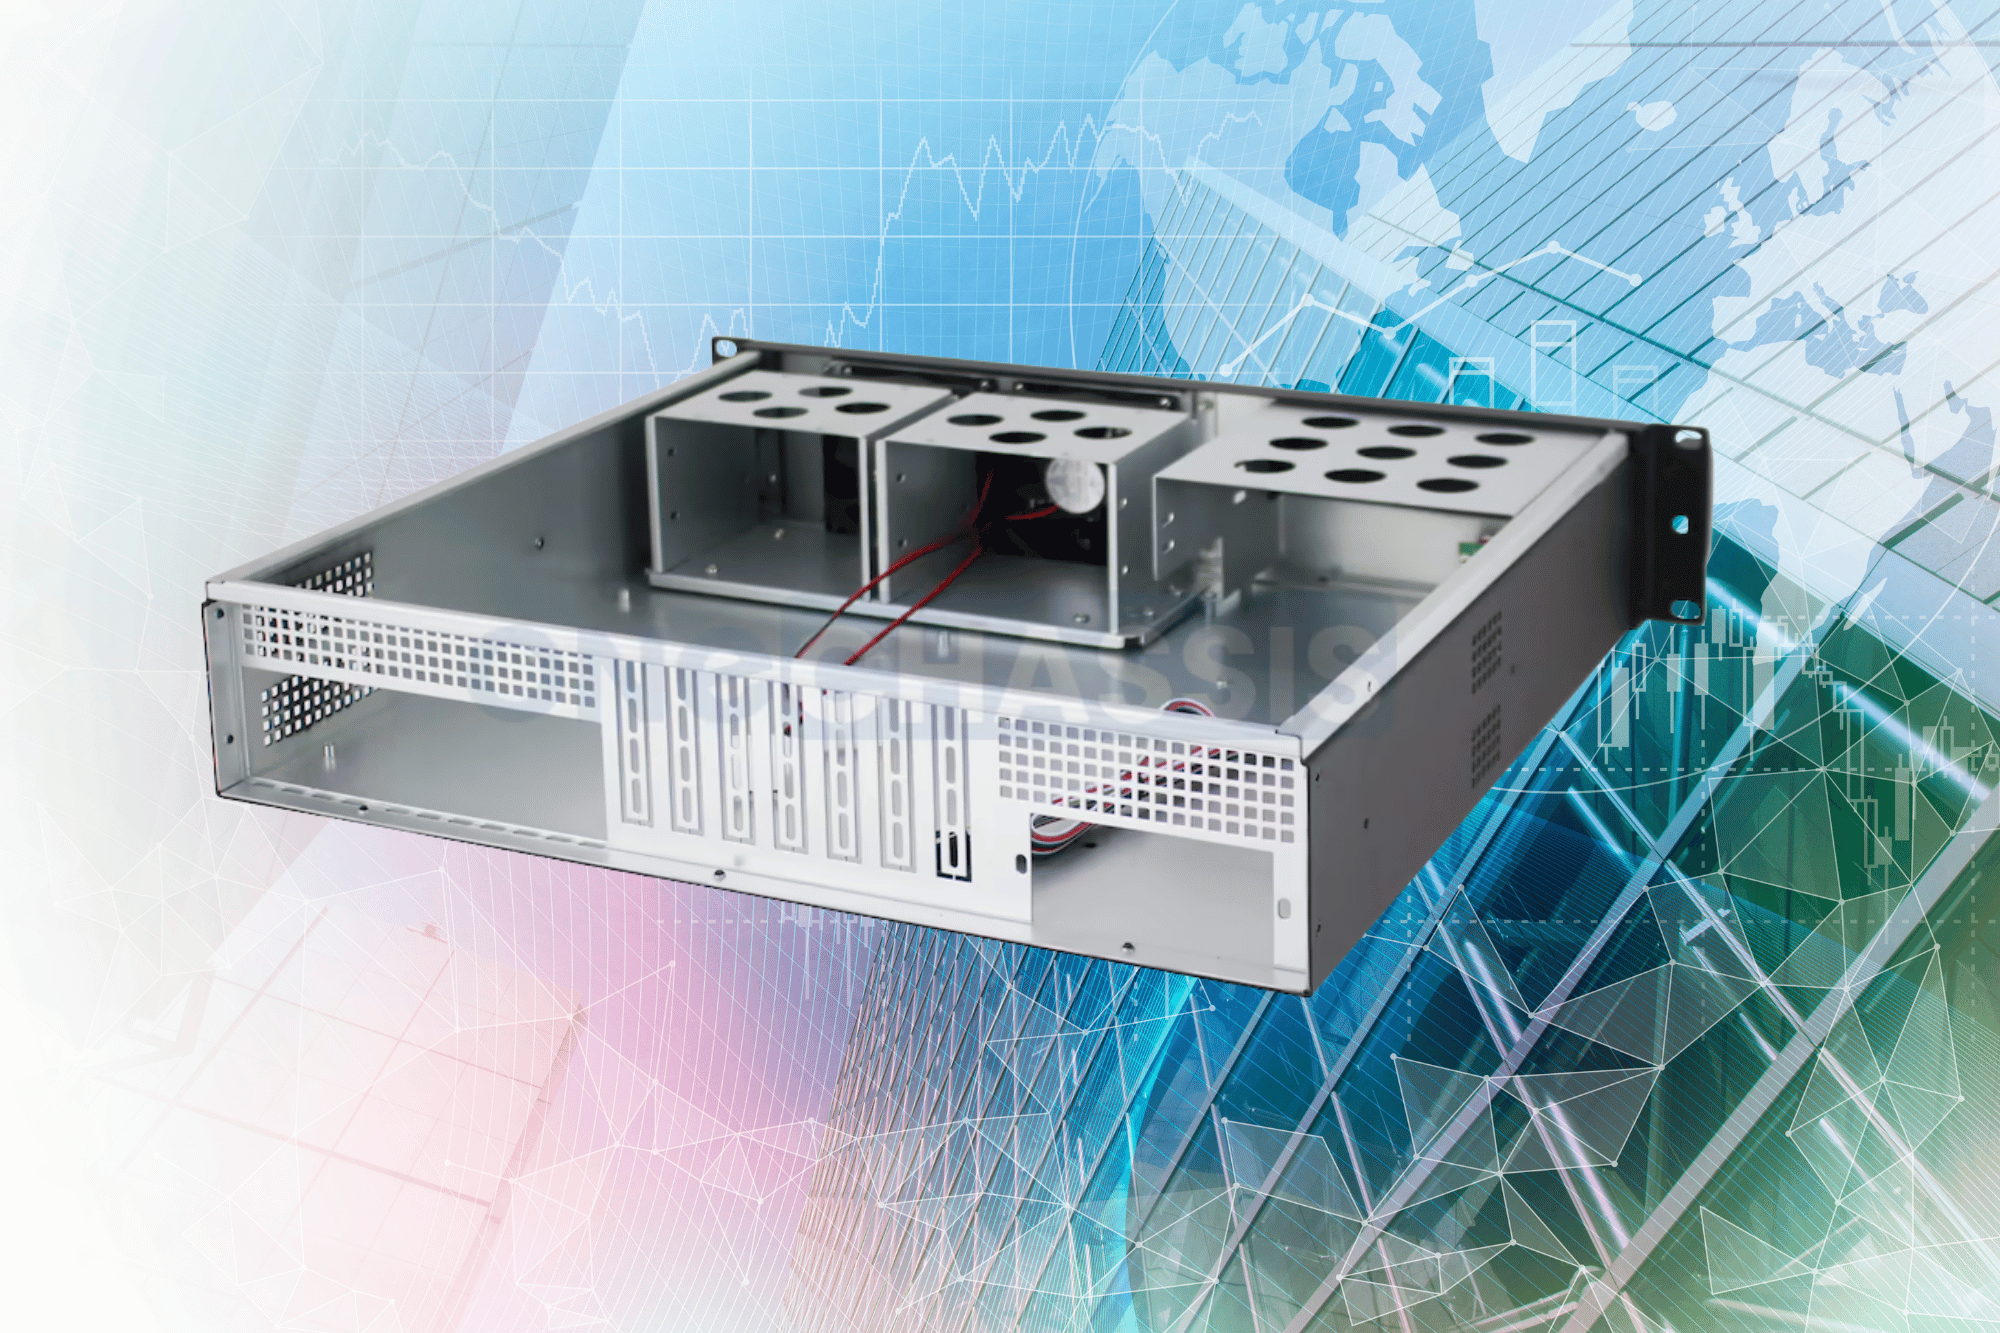
Drive Bay Compatibility: Size, Count, Interface, and Serviceability
Drive bay compatibility involves more variables than most chassis spec sheets make obvious. Address each of these before committing to a build.
Drive size support: Confirm whether the chassis supports 2.5-inch drives, 3.5-inch drives, or both. Many chassis include hybrid bays that accept either size with an adapter tray, but this typically reduces your total usable bay count. If your storage design requires a specific mix of 2.5-inch SSDs and 3.5-inch HDDs, map out your bay requirements against what the chassis actually provides — not what it advertises as a maximum.
Bay count: Count the bays your workload requires today, then add a realistic estimate for growth over 12 to 24 months. A 12-bay chassis that’s full at deployment leaves no room for capacity expansion without a chassis replacement. Where density matters, look for chassis that support high bay counts relative to their rack-unit footprint — 8-bay or 12-bay 2U chassis exist, but internal layouts and cooling differ significantly between models.
Hot-swap vs. non-hot-swap: Hot-swap bays let you replace a failed drive while the system is running, with no shutdown required. This is the standard for production storage environments, NAS deployments, and any system where unplanned downtime has operational consequences. Non-hot-swap chassis require a powered-down, open-chassis replacement — acceptable for development systems, test labs, or deployments with scheduled maintenance windows, but not for production systems where availability matters. Confirm which design your chassis uses, and match it to your uptime requirements.
Storage interface and backplane support: This is where compatibility failures are easy to miss. A chassis backplane may support SATA only, SAS and SATA, or NVMe, depending on design. If you’re using NVMe drives in a SAS/SATA backplane chassis, those drives won’t be recognized through the backplane — you’ll need direct cable connections from the drives to your HBA or controller, which may not be practical in a high-bay-count configuration. Verify that your chassis backplane supports the interface type your drives require, and that your HBA or storage controller has the correct connector type and lane count for the intended number of drives.
Pre-Purchase Compatibility Checklist
Before finalizing any server chassis purchase, work through each of these items:
Motherboard fit
- Confirm the chassis supports your motherboard’s exact form factor (ATX, E-ATX, SSI EEB, etc.)
- Verify mounting hole pattern compatibility
- Check rear I/O shield alignment
- Confirm CPU cooler clearance height against your cooler dimensions
PSU fit
- Confirm PSU form factor matches the chassis PSU bay (ATX, redundant module, SFX, 1U)
- Calculate total system power draw plus 20–25% overhead, and confirm PSU wattage covers it
- Verify cable length is sufficient to reach all drive bays and board connectors
- Confirm PSU airflow direction aligns with chassis cooling design
Drive bays
- Confirm supported drive sizes (2.5-inch, 3.5-inch, or hybrid) match your storage devices
- Count usable bays against current and near-term storage requirements
- Confirm hot-swap or non-hot-swap design matches your uptime and maintenance model
- Verify backplane interface type (SATA, SAS, NVMe) matches your drives and controller
Expansion and clearance
- Check PCIe slot count and layout if you need GPUs, HBAs, or NICs
- Confirm GPU length clearance if applicable
- Verify chassis depth fits within your rack, including rear cable management space
- Confirm rail compatibility with your rack if rackmount installation is required
Cooling path
- Verify the fan wall design supports your thermal load
- Confirm no conflicts between PSU exhaust, drive cage placement, and CPU cooling path
Running through this checklist before purchase takes less than 30 minutes. Catching a single incompatibility at this stage saves far more time than resolving it after hardware arrives.
Getting the Foundation Right
The chassis is the platform that everything else depends on. A well-matched chassis makes integration faster, maintenance simpler, and future upgrades more predictable. A mismatched one creates friction at every stage — from initial build to long-term operation.
Use the compatibility areas covered here as your evaluation framework: motherboard fit, PSU format and power budget, drive bay design and storage interface, and expansion clearance. Confirm each one against your specific components before you order, and you’ll avoid the most common and avoidable procurement mistakes in server infrastructure.