


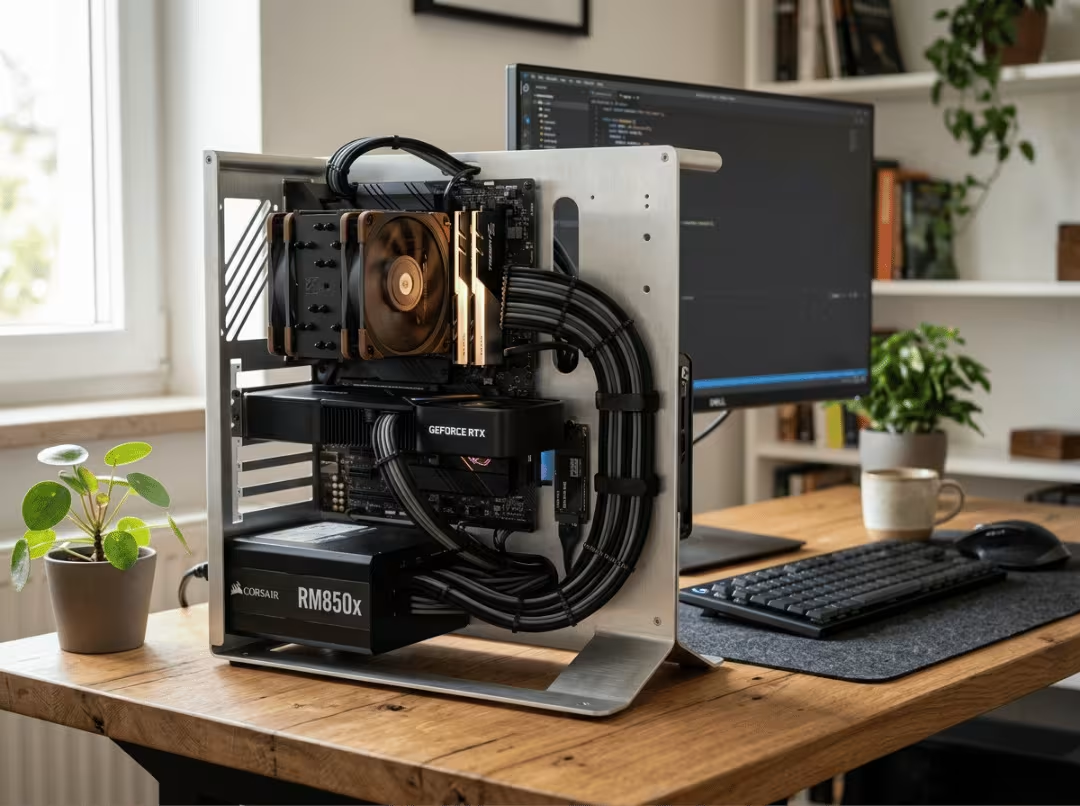
An open-frame chassis gives you three things: airflow, easy access, and a build that looks like a display piece. It costs you three: dust, noise, and physical exposure. That’s the whole trade-off in one line. This guide covers what an open-frame chassis is, why builders choose one, the trade-offs most people underestimate, and how to choose the right one for your setup.
What Is an Open Frame Chassis?
An open frame chassis — also called an open frame PC case or open air PC case — is a skeletal mounting structure that holds your components in open air, with no enclosing panels around them.
That one design choice changes everything. A traditional case gives you a sealed airflow path, dust filtration, some noise dampening, and a shell around your hardware. An open frame drops all four. There’s no engineered intake-to-exhaust routing, no filters, no way to muffle fan noise, and your components sit fully exposed to the room.
It helps to know what it isn’t, because people mix these up:
- Test bench — a flat, open deck for tinkering and fast part swaps, usually temporary rather than a permanent home.
- Wall-mounted chassis — display-first, with the build hanging like framed hardware art.
- Semi-open case — a hybrid that keeps one or two panels while opening up the rest.
A true open-frame chassis borrows from all three but commits to running exposed full-time.
|
Factor |
Open Frame Chassis |
Traditional Case |
|---|---|---|
|
Airflow |
Unrestricted, all directions |
Engineered intake/exhaust path |
|
Protection |
None |
Full enclosure |
|
Noise control |
None |
Dampened |
|
Maintenance access |
Immediate |
Panel removal required |
|
Visual appeal |
Hardware on full display |
Depends on glass/window |
Why Builders Choose an Open Frame Chassis
Better access for upgrades and maintenance
This is the reason experienced builders keep coming back. Every component sits in the open, so a GPU swap, a RAM reseat, or an M.2 drive change takes minutes with nothing in the way. No panel to pull, no drive cage to unscrew, no cable arm blocking your reach.
The payoff scales with how often you get in there. If you review parts, chase deals, and rotate GPUs, or run a testbed for troubleshooting, that saved friction adds up fast. Custom loop builders benefit most — draining coolant, repositioning a radiator, or reworking a tube run is far less painful when you’re not reaching blind into a sealed box.
A stronger showcase effect
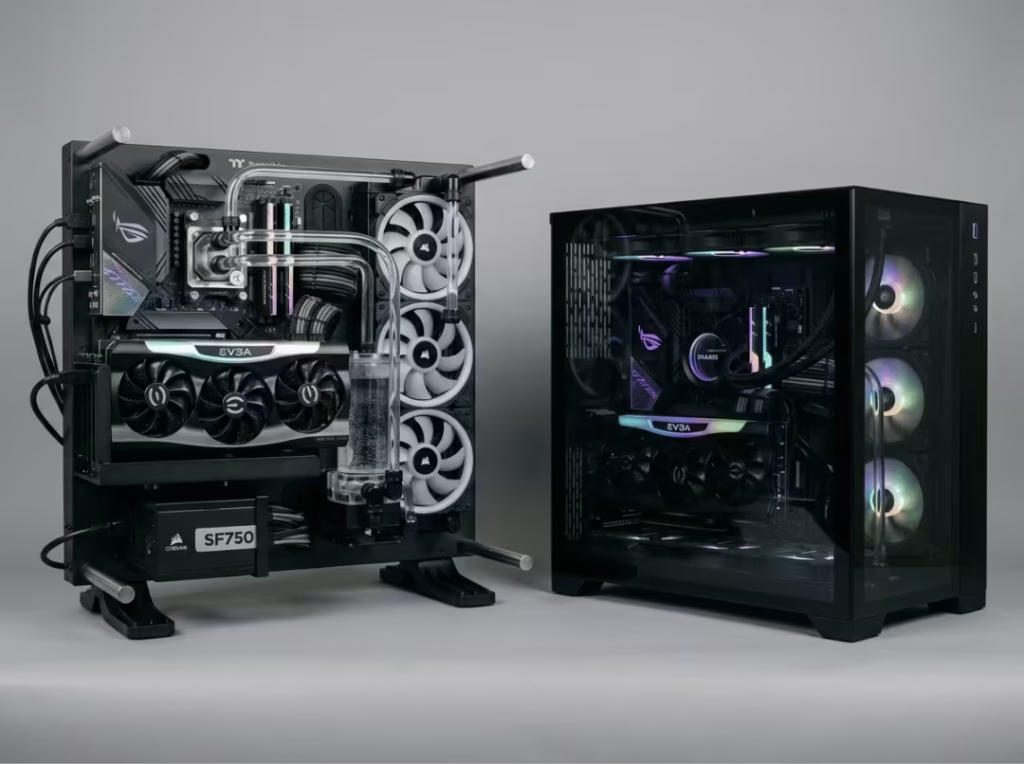
An open frame turns the whole build into the centerpiece. No tinted glass softening the view, no shroud hiding half your components. A vertical GPU mount, braided cables, RGB, and a custom water block all sit in plain sight, exactly as you built them.
That’s why these rigs photograph well and end up on desks and shelves instead of tucked under one. If you spent real money on hardware you’re proud of, an open-air PC case stops hiding it.
Cooling can be better — but only in the right build
The thermal logic is simple. With no front mesh, no filters, and no enclosed volume, your fans pull fresh air from every direction and heat escapes without fighting a restrictive path. No dead-air pocket baking around the GPU, no filter slowly choking your intake.
Now the honest part, because plenty of guides overpromise here. An open frame removes a constraint — it does not guarantee lower temperatures. Your results still depend on cooler quality, fan strategy, room ambient, and how your specific GPU dumps heat. A triple-fan card that recirculates hot air into the open might see a real drop, while a well-tuned closed case with strong airflow can land surprisingly close. Think of an open frame as lifting the ceiling on your cooling, not handing you a guaranteed win.
The Trade-Offs Most Buyers Underestimate
This is the section to read twice. The upsides sell the format; the trade-offs decide whether you’ll actually enjoy living with it.
Dust builds up faster
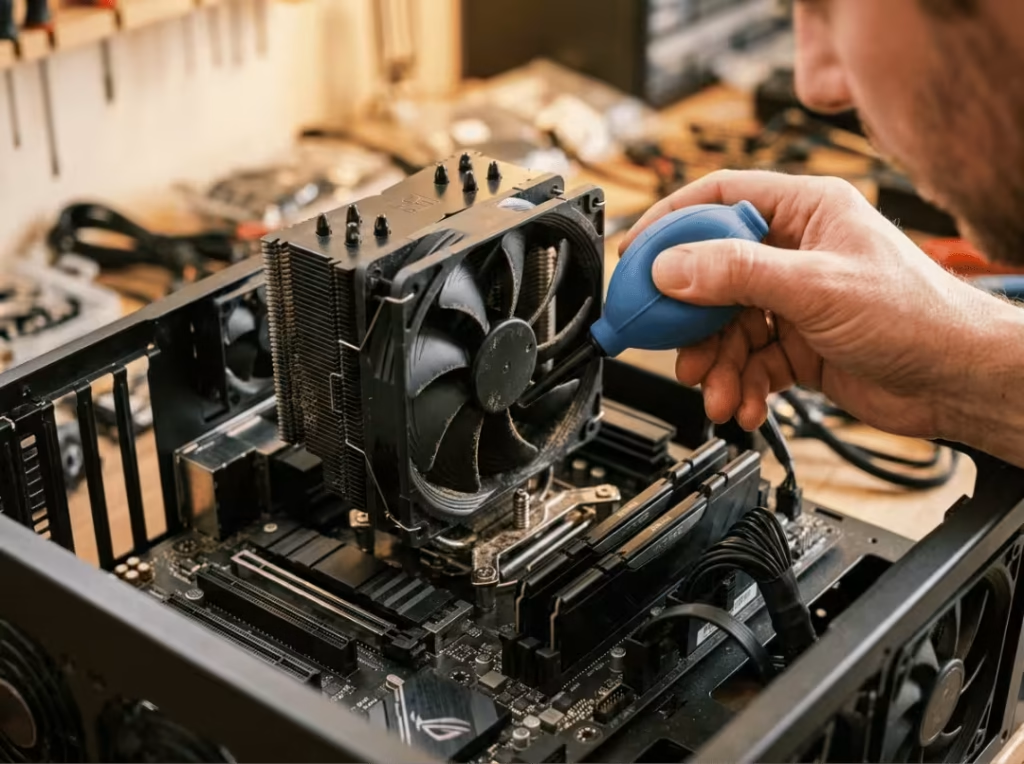
With no panels and no filters, dust and pet hair settle straight onto heatsinks, fan blades, and the motherboard. Nothing stops them. Where a filtered case might go a few months between real cleanings, an open build often needs a wipe-down and a blast of compressed air every couple of weeks to stay tidy.
Placement softens this a lot. Keep the rig off the floor, away from carpet, and out of the dustiest corner of the room. A can of compressed air or a bulb blower becomes part of your routine instead of an occasional chore. Just be clear-eyed about it: dust management is now your job, not the case’s. If you already skip cleaning your current PC for months at a time, an open frame will punish that habit.
Noise is harder to ignore
There’s zero acoustic dampening here. No foam, no closed panels, nothing between your fans and your ears. A build with aggressive fan curves is audible from across the room, and the quieter annoyances travel just as freely — coil whine from a hard-working GPU and pump hum from a loop are suddenly right out in the open.
That reshuffles your component priorities. In a closed case you can get away with noisier parts and let the shell absorb the difference. In an open frame, quiet parts earn their price: larger radiators running lower RPM, quality fans, and a well-chosen pump. If you work, game, or sleep in the same room as the machine, budget for silence up front rather than trying to fix it later.
Physical exposure is a real risk
Everything is out in the open, which means everything is vulnerable. A knocked-over drink, a curious cat crossing the board, a toddler’s hand, a dropped screw rolling toward a live socket, a screwdriver slipping mid-install — these aren’t hypotheticals, they’re the failure stories on every forum. If the machine lives in a shared living room or a busy family space, an open frame is usually the wrong call, full stop.
Transport is its own hazard. Moving an open build to a LAN party or shipping it means exposed components taking every bump and static risk along the way. Plan for careful packing, or pick a chassis that disassembles cleanly, before you commit.
A cleaner build takes more planning, not less
Here’s the counterintuitive one. New builders assume that because everything is accessible, the build must be easier. Access and appearance are two different problems. Yes, you can reach every part — but every cable is also on permanent display, so clean routing takes more effort, not less. There’s no basement chamber to hide the ugly stuff.
Layout quirks add to it. Some open frames put the PSU in an unusual spot, and stock cables may not reach comfortably. Standoffs, riser brackets, and mounting hardware are often not in the box. Budget time and money for cable combs, custom-length or braided cables, and any hardware the frame assumes you already own. A rushed open build looks messier than a rushed closed build — because there’s nowhere for the mess to go.
Is an Open Frame Chassis Right for You?
Run yourself against these two lists before you spend anything. Most buyer’s remorse with open frames comes from ignoring the second one.
It makes sense if you…
- Upgrade often and are tired of the remove-the-panel dance every time a new part lands.
- Run a custom liquid cooling loop and want unrestricted access for tube runs, radiator placement, and the inevitable drain-and-refill.
- Overclock and want to reach components fast while chasing stability.
- Want your hardware on display rather than hidden behind glass or metal.
- Have an unusual space to work with — a wall-mounted chassis above the desk, a low-profile horizontal rig under a monitor, or a compact mini-ITX build on a shelf.
If two or more of these describe you, an open frame stops being a novelty and starts being the practical choice.
Skip it if you…
- Have toddlers who grab everything within reach.
- Live with shedding pets that turn any open surface into a fur magnet.
- Keep your PC on the floor, where dust and accidental kicks are constant.
- Prioritize whisper-quiet operation and want the case to do the acoustic work for you.
- Want a set-it-and-forget-it build you assemble once and ignore for three years.
None of these rule you out as a builder — they just point you toward a good enclosed case instead. An open air PC case rewards involvement. If your ideal PC is one you never think about, this isn’t it.
How to Choose the Right Open Frame Chassis
Work through these in order. Each step is a filter, and clearing the early ones saves you from falling for a frame that can’t fit your parts.
Start with motherboard and PSU support
Before anything else, confirm the frame fits your board and power supply. Check the supported motherboard form factor — mini-ITX, mATX, ATX, or E-ATX — and don’t assume, because plenty of compact open frames top out at mATX. Then confirm PSU compatibility: ATX, SFX, or SFX-L.
This is your hard first filter. A gorgeous frame that won’t seat your E-ATX board or your SFX unit is a non-starter. Settle it before you fall in love with anything else.
Check GPU size, weight, and mounting method
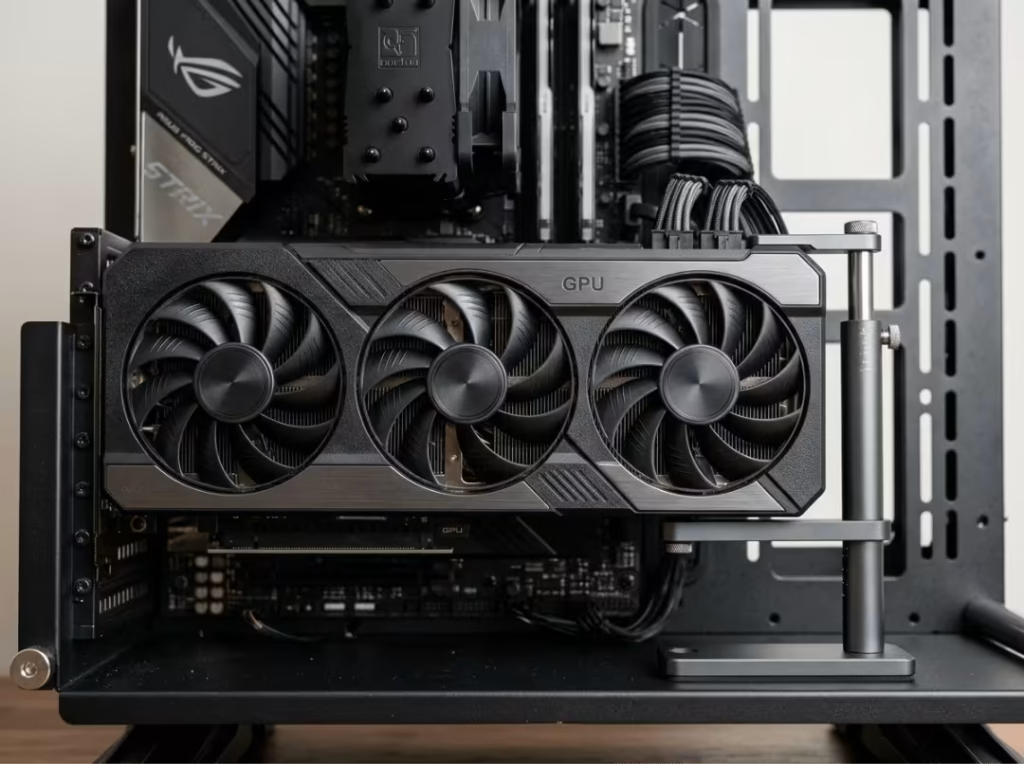
Modern graphics cards are the trickiest fit. Measure your card’s length and thickness, then verify the frame’s clearance — some open layouts are deceptively tight around the GPU zone. Next, check the mounting options: standard horizontal, vertical via a riser, or both. If you want that vertical showcase look, confirm the riser slot exists and whether a cable is included.
Weight matters as much as size. A three-slot flagship like an RTX 4090 is heavy, and horizontal open layouts can cause it to sag over the edge without support. Look for a frame with anti-sag provisions, or plan to add a support bracket from day one — not after you’ve watched the card droop.
Make sure the cooling layout fits your plan
Match the frame to your actual cooling setup, not a hypothetical one. Count the fan and radiator mounts and note the supported sizes — 120mm, 140mm, 360mm. If you’re running a loop or a thick AIO, don’t stop reading at “supports 360mm radiator.” Check clearance for thicker radiators, and confirm there’s a sensible spot for a pump and reservoir.
Then think about tube routing. A mount that technically fits a radiator but leaves no room to route tubing cleanly will fight you the entire build. Air coolers are easier, but even then, verify height clearance if the frame has any overhead structure.
Pay attention to cable visibility
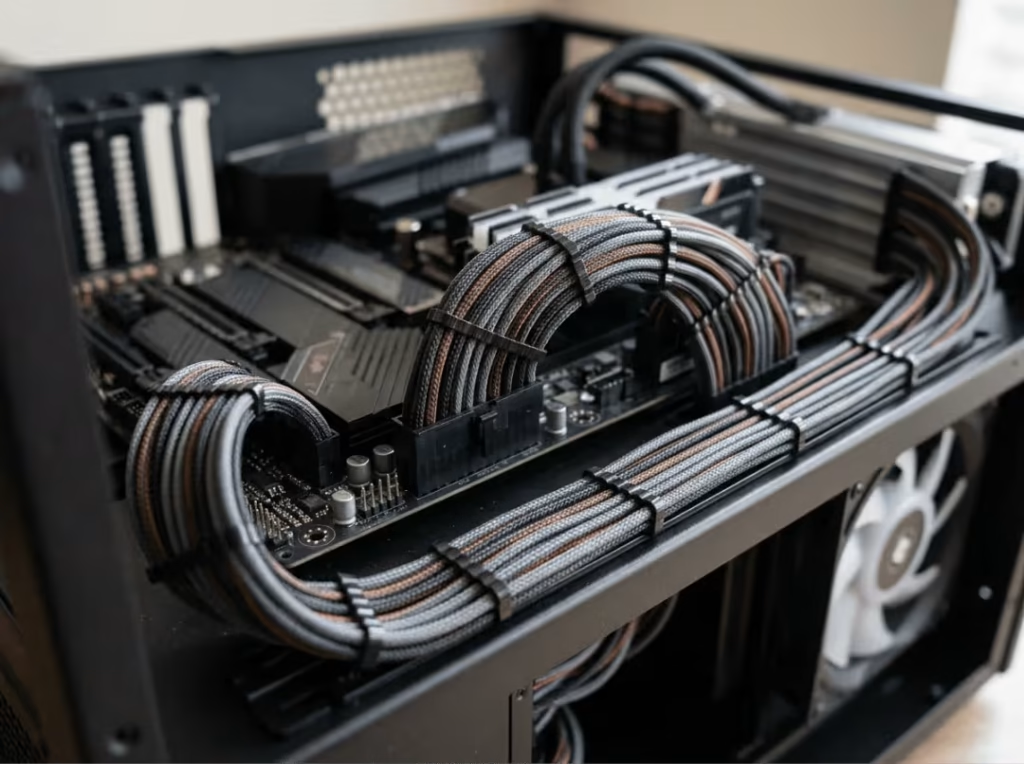
There’s no hidden chamber, so cables are part of the aesthetic whether you like it or not. That makes your PSU cabling a real buying factor. Modular cable length and quality directly affect the final look — stock cables are often too long and awkwardly colored for an exposed build.
Plan for braided or custom-length cables, and look at how the frame routes wiring along its rails or under the tray. A frame with dedicated routing channels or tie-down points is worth more than it looks on the spec sheet, because it’s the difference between a clean build and a spaghetti mess in full view.
Material and frame rigidity matter more than buyers expect
The frame is the only structure holding everything together, so build quality isn’t just cosmetic. Powder-coated steel offers durability and stability at the cost of added weight. Aluminum saves weight and looks premium. Acrylic offers transparency for a certain aesthetic but flexes more under load.
Rigidity becomes critical the moment you add a heavy GPU or a filled loop. A flimsy frame lets components shift, sag, and vibrate — and vibration is both a source of noise and a long-term reliability risk. A wall-mounted build especially needs a frame that won’t flex when it’s hanging with a few kilos of hardware on it.
Check what is actually included in the box
This is where budgets quietly blow up. Confirm exactly what ships with the chassis: standoffs, screws, a GPU bracket or support, a riser cable, pump and radiator mounts, and — for wall models — the mounting hardware.
A cheap-looking frame can end up costing more than a complete one once you’ve bought a riser cable, a support bracket, and a bag of standoffs separately. Riser cables alone can run a meaningful chunk of the frame’s price. Read the box contents, not just the marketing photos, before you check out.
The Main Open Frame Styles
Pick the style based on how you’ll actually use and place the build, not by which spec list is longest.
Horizontal bench style is the classic flat deck with the motherboard lying flat. This is the format for people who live inside their PC — frequent hardware swapping, overclocking, and troubleshooting are effortless when everything is laid out in front of you. The catch is desk footprint: it sprawls, and a heavy GPU will droop over the edge without a support bracket.
Vertical tower style keeps the familiar upright layout of a normal case but strips the panels. The footprint is smaller, and it presents well facing outward on a desk, so it suits someone who wants the showcase look without giving up half a desk. Access is still good, just not as wide-open as a flat bench, and these tend to cost more.
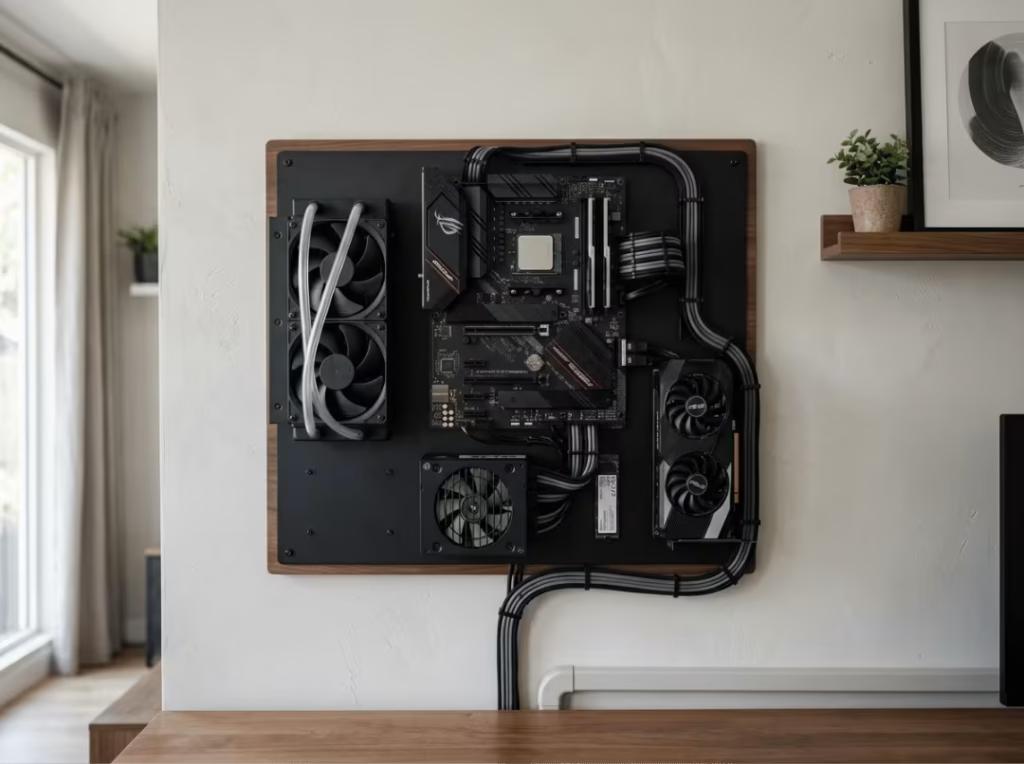
Wall-mounted style hangs the components on a plate like framed hardware art. Choose it when desk space is zero, and visual drama is the point — airflow is excellent, and the effect is genuinely striking. If you want a purpose-built option along these lines, compact wallmount chassis designs like the OCWH510B-Y are a good place to start. In return for that striking look, you accept more complex installation, careful cable planning along the wall, and the reality that servicing it means leaning in or taking it down.
Modular/convertible style reconfigures among horizontal, vertical, and angled layouts. This is for builders who expect their setup to change — new GPU sizes, a future loop, a different room. It’s the most flexible option and, predictably, the most expensive, with the most parts to fiddle with during assembly.
Practical Setup Tips for an Open Frame Build
These are the details that separate a clean, quiet build from a dusty, sagging one.
- Plan cable routes before final assembly. It’s tempting to skip planning when every part is reachable, but exposed cables punish sloppiness. Dry-fit your runs, decide what goes under the tray or along the rails, then lock things down.
- Choose quieter cooling parts than you would in a closed case. Without panels to absorb sound, a large radiator running low-RPM fans and a quality pump will do more for your daily experience than any acoustic afterthought.
- Keep the build off the floor. Floor level is where dust, hair, and accidental kicks live. A desk or shelf placement cuts both your cleaning frequency and your risk in one move.
- Secure the chassis to whatever it sits on. Rubber feet for a desk, proper wall anchors for a wall mount, and never trust a lightweight frame to stay put in a busy space.
- Use a GPU support bracket even in horizontal layouts. Open frames rarely include the anti-sag reinforcement a closed case gives you for free, and today’s cards are heavy enough to bend a PCIe slot over time.
- Set fan curves against real component temperatures. There’s no case airflow to reason about, so tune fans and pump speed by watching actual CPU, GPU, and coolant temps under load.
A few scenario-specific calls worth making early:
- If you have pets: mount high on a desk and out of jumping range.
- If you’re wall-mounting: pre-plan every cable run before you hang anything, because fixing it later means taking the whole build down.
- If you’re running a large GPU: source your anti-sag support before assembly, not after.
- If you’re running a loop: plan drain access from the start so your first maintenance isn’t a mess.
FAQ
Can an open frame chassis use a regular ATX PSU?
Yes. Most open frames are built for standard ATX power supplies, and many also take SFX or SFX-L units with the right mount. Confirm the frame’s PSU support and check that your cables reach comfortably, since some layouts place the PSU in an unusual position.
Are open frame chassis good for large GPUs like the RTX 4090?
They can be excellent for big cards thanks to the open airflow, but weight is the concern. A three-slot flagship will sag in a horizontal layout without support, so choose a frame with anti-sag provisions or add a GPU support bracket. Double-check length and thickness clearance before buying.
Do open frame chassis support liquid cooling?
Many are designed with liquid cooling in mind and offer some of the easiest access to the loop you’ll find. Check the specific radiator sizes supported, clearance for thicker radiators, and whether there’s room for a pump and reservoir plus clean tube routing — not just the radiator itself.
Can you put an open frame chassis on the floor?
You can, but it’s the worst spot for one. Floor level concentrates dust, pet hair, and accidental contact, which means far more frequent cleaning and higher risk. A desk or shelf is strongly preferable for any exposed build.
Are open frame chassis safe around pets?
Not especially. Exposed fans, cables, and components are vulnerable to fur, knocks, and curious paws. If you have pets, mount the build high and out of reach — or reconsider whether an enclosed case suits your home better.
The Bottom Line
An open frame chassis isn’t a better case — it’s a different category, built for a specific builder in a specific room. Get the environment right, and it rewards you with airflow, effortless access, and a build worth showing off. Get it wrong, and dust, noise, and exposure wear on you fast.
So buy in this order: be honest about your environment, your noise tolerance, and your cleaning habits first. If those line up, then check the technical fit — motherboard and PSU support, GPU size and weight, and your cooling layout. Settle the situation before the spec sheet, and an open frame stops being a gamble and becomes the best-looking, most serviceable PC you’ve ever owned.
