


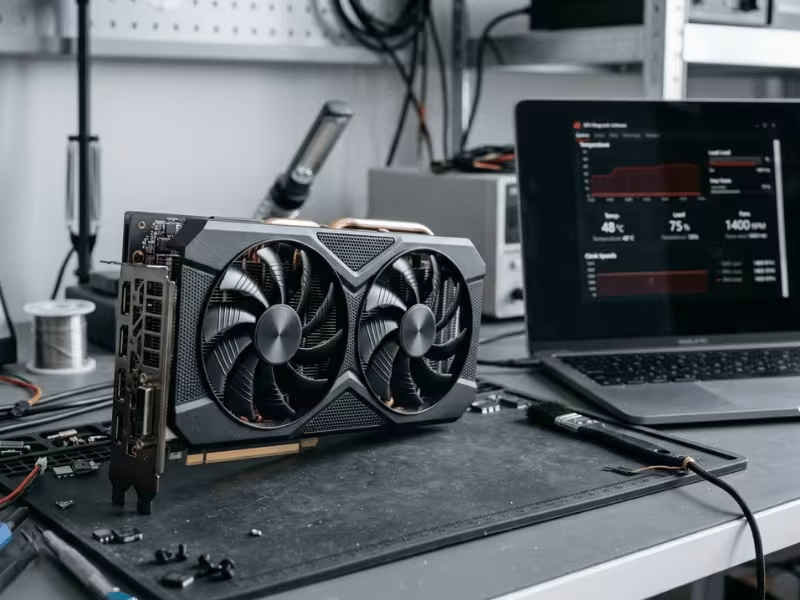
Your GPU BIOS is the firmware stored on a small chip on your graphics card. It tells the card how to start, what clocks to run, how much power to use, and how the fans should behave.
People search for GPU BIOS updates for a few clear reasons. Some buy a used card and later find the wrong BIOS on it. Some want to fix fan, stability, or compatibility issues. Others hope a flash will unlock more performance.
This is where you slow down. A GPU BIOS update is a low-level change. Use the wrong file, and you can end up with a black screen and a hard recovery ahead of you.
Not everyone needs to touch their GPU BIOS. In most cases, a small performance goal is better handled with software tools like undervolting, fan tuning, or power limit adjustment.
This guide helps you make the right call. It shows when a BIOS update makes sense, when it doesn’t, and how to do it safely if you truly need it.
Should You Update Your GPU BIOS at All?
Let’s start with the question most guides skip: do you actually need to do this? A BIOS flash is not a routine tune-up. It’s a one-way change to your card’s core behavior, and the honest answer for most people is “probably not.” Here are the three situations I sort every case into.
When a BIOS update makes sense
A flash earns its place when something is genuinely wrong, not just when you’re curious.
- You bought a used card, and it shipped with the wrong BIOS. This happens more than you’d think.
- The vendor released an official BIOS that fixes a real bug — an unstable boost clock, fans that won’t spin down, or a compatibility hiccup with certain boards.
- The card reports the wrong model name, the wrong VRAM size, or strange power behavior. Just make sure you’ve ruled out a driver problem first.
- You have an OEM or specific board revision with a documented BIOS issue.
In these cases, the flash fixes something. That’s the whole point.
When it probably isn’t worth it
This is where I stop a lot of people. The itch is understandable, but the payoff usually isn’t.
- You want a few extra frames. A flash rarely delivers that in a way you’ll notice.
- You want a higher power limit. You can often get that in software, no firmware risk involved.
- You heard “same chip means you can cross-flash.” Sometimes true, often trouble. A matching core doesn’t guarantee the rest of the board matches.
- You haven’t tried the easy stuff yet — a clean driver update, a custom fan curve, undervolting, or MSI Afterburner.
Try those first. They solve most of what people think needs a BIOS flash.
When you should avoid it
Some setups turn a small mistake into a dead card. If any of these apply, walk away.
- It’s a laptop GPU. These are locked down for good reason.
- The card is still under warranty. Flashing a non-stock BIOS usually voids it.
- You have a single-BIOS card and no fallback if it won’t post.
- You can’t confirm the ROM is an exact match for your card.
- You haven’t backed up your original BIOS.
That last one is non-negotiable. No backup, no flash. I’d rather you close the tab than gamble a working card on a file you can’t undo.
What a GPU BIOS Changes — and What It Doesn’t
Before you flash anything, it helps to know exactly what you’re changing. The BIOS sets your card’s baseline — the defaults it wakes up with every time you power on.
That includes a handful of important things:
- The default core and memory clocks
- The power limit and how hard the card can push
- The stock fan curve
- Certain voltage and board-level parameters
These are the numbers your card lives by before any software touches it. Change the BIOS, and you change that starting point permanently until you flash again.
Drivers and BIOS are not the same thing
This trips people up all the time. A driver update never touches your BIOS. They sit on different layers.
Your driver tells Windows how to talk to the card. The BIOS lives on the card itself and runs before the driver ever loads. So updating your GPU drivers won’t fix a BIOS bug, and flashing a new BIOS won’t replace a driver problem.
When something acts up, figure out which layer it belongs to first.
A flash is not a magic fix
Here’s the part I want you to sit with. Because the BIOS controls those deep defaults, changing it is a low-level move — closer to swapping firmware than tweaking a setting.
That’s also why it’s a poor catch-all. Stuttering, crashes, weak frame rates — most of these come from drivers, thermals, or software, not the BIOS. Treat a flash as a targeted repair, not a cure for everything.
Check These Before You Flash
This is the part that saves cards. A few minutes of checking here is the difference between a clean update and a paperweight. Run through all five steps below before you write a single byte.
Confirm exactly what card you’re holding
Open GPU-Z and read it carefully. Note the model name, subvendor, device ID, current BIOS version, and memory type. Write these down. That BIOS version is your ticket back if things go sideways.
Pay extra attention if the card is used. Sellers get details wrong, and a cooler swap tells you nothing about what’s underneath. Two cards can look identical and run completely different memory. Trust the GPU-Z readout, not the listing or the shroud.
Make sure the new BIOS actually matches
A matching GPU core is not a green light. This is where good intentions turn into black screens.
Start at the vendor’s official support page. That’s your safest source, full stop. If nothing’s there, a trusted BIOS database is your next stop — but you’re now responsible for matching every detail yourself.
Here’s what bites people:
- Same model, different memory vendor (Samsung vs. Micron vs. Hynix)
- Same model, different PCB revision
- Same core, different power delivery
Any one of these can make a “close enough” BIOS misbehave. Match the whole card, not just the chip.
Back up the original BIOS first
I’ll say this plainly: no backup, no flash. There’s no exception worth making.
Use your flashing tool to dump the current BIOS to a file. Then copy that file somewhere you can reach without the card working — a USB stick, another drive, a second machine. If the card stops posting, that dump is often the only thing standing between you and a repair bill.
Skip this step, and you’re gambling a working card on a file you can’t undo. Don’t.
Give yourself a way out
Even a perfect file can fail mid-write. Set up your escape routes before you start, not after something goes wrong.
Here’s what a low-risk setup looks like:
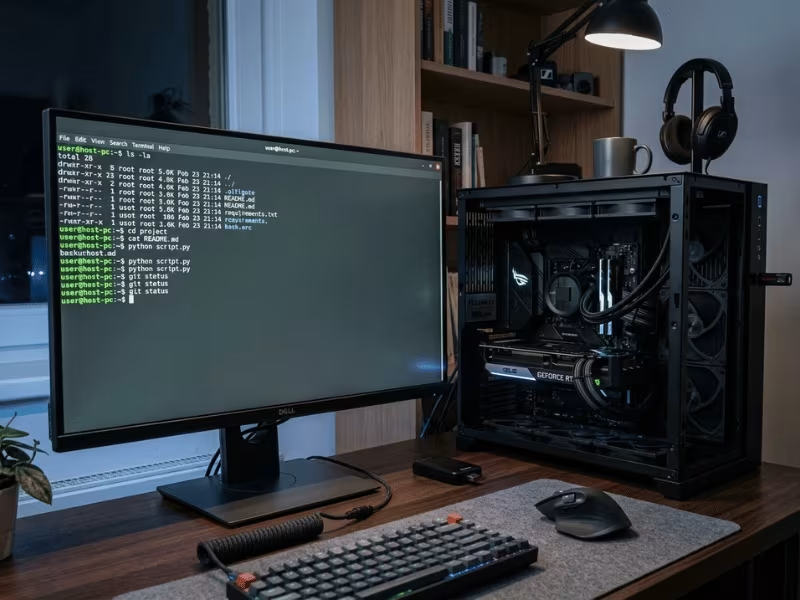
- A fallback display. Integrated graphics or a second GPU lets you boot and reflash if the card goes dark. Without one, a failed flash gets much harder to fix. If you run a multi-GPU workstation or a GPU server case with several cards installed, a spare display output is usually already there — use it.
- A dual-BIOS switch. If your card has one, you’ve got a built-in safety net. Flip to the second BIOS and you’re back in.
- Stable power. Don’t flash during a storm or on a flaky outlet. A UPS is ideal. A power cut mid-write is one of the surer ways to brick a card.
- A clean system. Close background apps, pause updates, and don’t flash while the system feels unstable. Give the process nothing to trip over.
The more of these you have, the more forgiving a mistake becomes.
Rule out the easy fixes first
Now the honest question: are you sure you even need this? Most problems people blame on the BIOS have a safer answer. Work through these before you flash anything.
Update or clean-reinstall your drivers. Start with a fresh driver. If that doesn’t help, run DDU (Display Driver Uninstaller) in Safe Mode and reinstall clean. This clears out corrupted files that mimic hardware faults.
Set a custom fan curve. Fans too loud or spinning at odd times? Software fixes that in minutes. You don’t need firmware for a fan complaint.
Undervolt the card. This is the underrated hero. Undervolting usually gets you most of the thermal and noise improvement people chase with a BIOS mod — with zero risk to the card.
Adjust the power limit in software. Want more headroom or less heat? MSI Afterburner handles this on most cards without touching the BIOS at all.
Check your temps and power delivery. Watch load temps in HWiNFO. Confirm your PSU cables are seated and rated for the card. A lot of “BIOS problems” are really a hot card or a loose connector.
If one of these solves it, you’ve dodged the risk entirely. That’s a win. Only when the fix genuinely lives in the firmware does a flash make sense.
How to Update an NVIDIA GPU BIOS Safely
If you’ve worked through the checklist and a flash still makes sense, here’s how I handle it on an NVIDIA card. NVFlash does the heavy lifting, but the tool won’t stop you from making a bad call — that part is on you. Read every prompt, and treat each warning as a checkpoint, not a nuisance.
Back up and identify the correct adapter
Start by listing your adapters. NVFlash will show every GPU it sees, each with an index number.
This step matters more than it looks. If you have more than one card, the wrong index means you flash the wrong card. Confirm the index matches the exact GPU you’re targeting before you touch anything else.
Once you’re sure, dump the current BIOS to a .rom file. This is your safety net.
Now the part people rush: verify that dump. Open the .rom file in GPU-Z and confirm it reads as a valid BIOS with the right model and details. A file that saved but won’t open is no backup at all. Don’t move forward until you’ve seen a clean dump.
Flash the BIOS with NVFlash
With a verified backup in hand, run the flash command using your confirmed adapter index and the new ROM file.
NVFlash will run two checks worth respecting:
- The board ID check confirms the file belongs to your card’s board.
- The version mismatch warning flags when the new BIOS differs from what’s installed.
These aren’t red tape. They’re the tool telling you whether the file actually fits. If the board ID doesn’t match, or a warning describes something you don’t understand, stop right there. Aborting costs you nothing. Pushing past a warning you can’t explain can cost you the card.
Only confirm the write once NVFlash shows the file matches your device ID.
Reboot and verify immediately
Reboot the moment the flash finishes. Don’t let Windows sneak in a pending update during that first restart — hold those off until you know the card is stable.
After it boots, open GPU-Z again. Check that the BIOS version string matches the file you just wrote. My rule: don’t assume it worked until you’ve seen the new version load. A successful-looking flash and a verified flash are two different things.
A note on newer protected BIOS versions
One more thing before you start. Many RTX 30- and 40-series cards ship with a write-protected BIOS that blocks standard flashing.
Getting around that protection takes specific NVFlash builds, and every layer of workaround adds risk. This isn’t the place to wing it.
Before you attempt anything on a protected card, search community threads for your exact model and board revision. What works on one variant can brick another. Match your findings to your card, not to a card that merely shares the same name.
How to Update an AMD GPU BIOS Safely
The AMD side works a lot like the NVIDIA side, but the tool and the traps are different. AMDVBFlash handles the job, and just like NVFlash, it does exactly what you tell it — including the mistakes. Slow down at each prompt and let the tool’s checks do their work.
Check adapters and save the original BIOS
Run AMDVBFlash from an elevated command prompt, then use the info command first. It lists every adapter it can see, each with its own index.
Read that list carefully. If you run more than one card, the wrong index means you flash the wrong GPU. Match the index to the exact card you’re targeting before anything else.
Once you’re certain, save the existing BIOS to a file with the save command. Do this every single time, no exceptions.
Then check the dump. Open it in GPU-Z and confirm it reads as a valid BIOS with your card’s details. A file that saved but won’t open is not a backup. Don’t write anything until you’ve seen a clean one.
Flash with AMDVBFlash
With a verified backup safe, run the program command pointing at your new ROM and the confirmed index.
Now wait. AMDVBFlash writes the file, then runs a verification pass to confirm the data landed correctly. Let it finish. Pulling the plug or forcing a reboot mid-verify is one of the surest ways to kill a card.
Watch for anything that questions the match. If the tool throws an error about the board, the ID, or a size mismatch, stop right there. Aborting costs you nothing. Forcing past a warning you can’t explain can cost you the card.
What locked BIOS warnings usually mean
Here’s where AMD trips people up. Many cards ship with a write-protected BIOS, and AMDVBFlash will simply refuse to write. That refusal is a feature, not a bug.
Some guides point you to the -unlockrom flag, which tells the tool to bypass that protection. Understand what you’re doing before you reach for it — you’re switching off a safety the manufacturer put there on purpose.
One quirk catches people out: on certain Polaris and Vega cards, the unlock doesn’t take until you reboot. So the sequence goes unlock, restart, then flash. If your write keeps getting rejected right after unlocking, that reboot is usually the missing step — not a reason to try harder with more flags.
Why official BIOS updates are safer on newer AMD cards
Architecture matters more than most people expect here.
Older Polaris cards are relatively forgiving. They accept modified BIOS files with edited power play tables without much fuss. Vega uses a different table structure, and a bad edit there can knock out display output — though it usually won’t fully brick the card.
RDNA and RDNA 2 are a different world. These cards enforce stricter signing, and they don’t take kindly to modified files. Push an unsigned or hand-edited BIOS onto one, and you’re far more likely to end up with a card that won’t post.
So my advice for anyone on a newer AMD card is blunt: stick to official vendor updates. If the fix isn’t in a signed BIOS from the card maker, it’s probably not worth the risk on these architectures. That single rule — official files only on RDNA and later — quietly prevents most of the dead-card stories I hear.
How to Tell If the Update Actually Worked
A flash that finishes without errors isn’t the same as a flash that did its job. So before you call it done, confirm the new BIOS is really running — and that it actually fixed what you set out to fix.
Confirm the new BIOS is live
Open GPU-Z first. Check the BIOS version string and match it against the file you just wrote. If it matches, the new firmware is running.
Then read the details. Confirm the reported clocks, power limit, and memory type line up with what the new BIOS should show. If your VRAM read wrong before, it should now read correctly. If the numbers still look off, the flash didn’t land the way you expected.
Stress test and watch it work
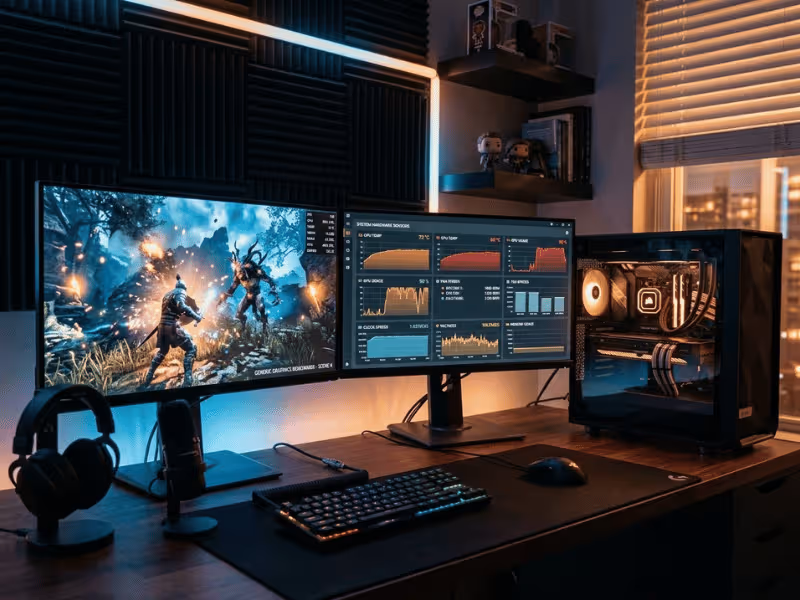
Now put the card under real load. Run a demanding game on a loop or a benchmark tool for 15 to 20 minutes — long enough for temps to settle and any instability to surface.
Keep HWiNFO open the whole time. Watch three things:
- Temperatures — do they hold steady, or climb past what you’d expect?
- Fan speed — does the curve behave the way the new BIOS intended?
- Stability — any crashes, artifacts, or driver resets end the test.
If the run stays clean, you’ve got a stable flash.
Was it actually worth it?
Here’s the honest part. Compare your before-and-after numbers — clocks, temps, frame rates, whatever problem sent you here.
If the flash solved the original issue, great. But if it changed nothing you can measure, or only nudged performance by a percent or two, I’ll say it straight: this flash probably wasn’t worth the risk. That’s not a failure on your part. It’s a useful answer — and a reason to lean on software tweaks next time.
What to Do If the Flash Fails
A failed flash feels like a disaster, but it usually isn’t the end. As long as you kept that original BIOS dump, most bad flashes are recoverable. Stay calm and work through these in order — and know when a step is above your comfort level.
If the card is still detected
Sometimes the screen goes black, but the fans still spin and the system still sees the card. That’s good news. The card isn’t dead; the display output just didn’t survive the flash.
Boot into Windows using your integrated graphics or a second GPU. Once you’re in, run your flashing tool again and write the original BIOS back. In most cases, this brings the card right back to life.
If the card has a dual-BIOS switch
This is the easiest fix, and it’s why I push people toward dual-BIOS cards.
Power down, flip the physical switch to the second BIOS slot, and boot again. That second slot holds a working BIOS, so the card should post normally. From there, you can boot up and reflash the bad slot with your backup.
If your card has this switch, use it before trying anything more involved.
If the card won’t post
No fans, no display, no signs of life — this is the tough case. The card won’t come up on its own, and software recovery isn’t an option anymore.
At this point, you’re looking at a hardware programmer (like a CH341A) to write the backup BIOS directly to the chip, or a trip to a professional repair shop. I won’t walk you through the risky hardware steps here, because one wrong move makes things worse, not better.
Be honest with yourself about your skill level. If reflashing a chip by hand sounds intimidating, it should — and that’s a fine reason to hand it off.
When to stop and seek repair
Here’s the boundary I’d draw for most people. If the card still posts, you can almost always fix it yourself. If it won’t post and you don’t have real experience with hardware-level repair, stop. Don’t start poking at the board hoping to get lucky.
Professional repair or an RMA is the smart call when the chip is physically damaged or when hands-on programming sits outside what you’re comfortable doing. There’s no shame in that — knowing your limit here saves cards, not just time.
GPU BIOS Flashing vs Safer Alternatives
Before you flash anything, ask yourself one question: what am I actually trying to fix? Most of the time, the answer points to a safer tool. Match the method to your goal, and you’ll rarely need to touch the BIOS at all.
If you want less heat and noise
Start with undervolting. It’s the biggest win for the smallest risk. You lower the voltage the card pulls at each clock, and temps drop while performance stays close to stock. Quieter fans come along for free.
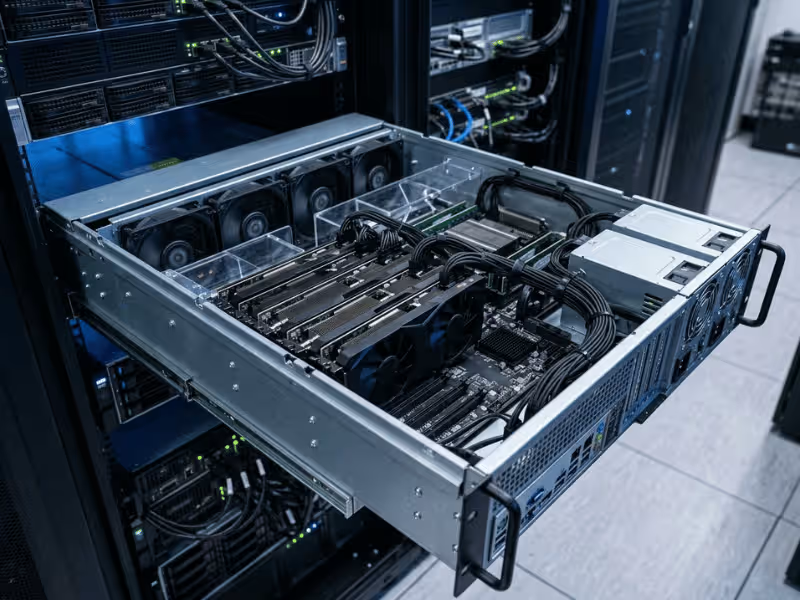
Pair that with a custom fan curve in software. You control exactly when the fans ramp up and how fast they spin. Between these two, most heat and noise complaints disappear — no firmware change required. If your temps still won’t behave, the problem is often airflow, not firmware. A cramped compact ITX case can choke a hot card, and for dense multi-card rigs a liquid-cooled GPU server case does far more for thermals than any BIOS edit.
If you want a small performance bump
Reach for MSI Afterburner or a similar tool. You can raise the power limit and nudge clocks up per session, and if something goes wrong, a reboot resets everything.
That “resets on reboot” part matters. Software overclocking is reversible. A BIOS flash isn’t. So chase those extra frames in software first, where a mistake costs you nothing but a restart.
If your drivers are acting up
Try a clean driver install before you blame the hardware. Run DDU in Safe Mode, wipe the old drivers completely, then install fresh. A surprising number of “GPU problems” are really leftover driver files. This step is free, fast, and fixes more than people expect.
When a flash is the right call
There’s a narrow set of cases where software can’t help you.
- The card came with the wrong BIOS, and you need the correct one.
- The vendor released an official BIOS that fixes a known bug.
- The card misreports its memory size or model in a way tied to firmware.
In these cases, the problem lives in the BIOS itself. Undervolting won’t touch it. A fan curve won’t touch it. Only a flash will.
The bottom line
Here’s how I sort it in my own head:
|
Your goal |
Try this first |
|---|---|
|
Cooler, quieter card |
Undervolt + fan curve |
|
A few more frames |
Afterburner / power limit |
|
Fix flaky behavior |
Clean driver reinstall |
|
Wrong or buggy BIOS |
Flash — as a last step |
A BIOS flash is a repair tool for a specific kind of broken. It’s not the first thing you try when you want a card to run better. Work through the software options, and save the flash for the one job nothing else can do.
Frequently Asked Questions
A few questions come up again and again when people weigh a BIOS flash. Here are the straight answers.
What happens if I flash the wrong GPU BIOS?
Usually one of two things. If the file is close but not quite right, the card might boot but misbehave — wrong clocks, no display output, or crashes under load.
If the file is badly mismatched, the card may not post at all. You’ll get fans spinning but a black screen.
The good news: if you backed up your original BIOS, most of these are recoverable. If you didn’t, you’re looking at a hardware programmer or a repair shop.
Does updating GPU BIOS improve gaming performance?
Rarely in a way you’ll notice. A flash sets your card’s defaults, but it doesn’t unlock hidden speed.
Any real gain usually comes from a higher power limit — and you can get that in software, no firmware risk involved.
If more frames are your goal, MSI Afterburner will do more for you than a BIOS flash, and a reboot undoes any mistake.
How do I find the correct BIOS for my graphics card?
Start with GPU-Z. Note your exact model, subvendor, device ID, and memory type.
Then go to the card vendor’s official support page first. That’s the safest source. If nothing’s there, a trusted BIOS database is your next stop.
One warning: a matching GPU core isn’t enough. Same model with different memory or a different PCB revision can still cause problems. Match the whole card, not just the chip.
Can I revert to the old GPU BIOS?
Yes — as long as you saved a backup before flashing. That’s the whole reason I nag people about it.
Just run your flashing tool again and write the original .rom file back. The card returns to how it was.
Without that backup, reverting gets much harder. There’s no undo button hiding in the software.
Will flashing a GPU BIOS void warranty?
Usually, yes. Flashing a non-stock BIOS voids the manufacturer warranty on most cards.
An official BIOS from the vendor is a safer bet, but policies differ. Check your specific manufacturer’s terms before you assume anything.
If your card is still covered and the problem might qualify for support, I’d hold off. Let the warranty handle it first.
Can I update a GPU BIOS without integrated graphics or a second GPU?
You can, but I don’t recommend it. Without a fallback display, a failed flash leaves you with no way to boot and reflash.
A dual-BIOS switch helps here — flip to the second slot and you’re back in. If your card has one, you’ve got a built-in safety net.
If you have no fallback display and no dual-BIOS switch, think hard about whether the flash is worth the risk. One bad write and you’re stuck.
Do laptop GPUs support BIOS updates?
Generally, no — not the way desktop cards do. Laptop GPUs ship with locked BIOS chips and soldered boards.
Any firmware fix usually comes through the laptop maker’s system BIOS or driver update, not a standalone GPU flash.
Don’t try to force a desktop-style flash on a laptop GPU. It’s locked down for good reason, and working around that is a fast path to a dead machine.
How long does a GPU BIOS update take?
The flash itself is quick — often under a minute once you run the command.
But budget 10 to 15 minutes for the whole job. That covers identifying the card, backing up the current BIOS, verifying the dump, flashing, and rebooting to confirm it worked.
Don’t rush the checks to save a few minutes. The verification steps are what keep a quick job from turning into a long one.
The Bottom Line
Let’s keep the takeaway simple: real reasons to flash a GPU BIOS are few and far between. A wrong BIOS on a used card, an official fix for a known bug, a genuine firmware-level compatibility problem — that’s about the whole list. If your situation isn’t on it, you probably don’t need to flash at all.
Chasing better performance? Start with software. Undervolting, a custom fan curve, and a power-limit tweak in Afterburner solve most of what people hope a flash will fix — and none of them can brick your card.
Here’s your next step. Open GPU-Z and note your current BIOS version, model, and memory type. Then head to your card vendor’s support page and check for an official update.
Only move forward if you’ve confirmed the problem actually lives in the BIOS. If it doesn’t, close the tab and try the software route first. Your card will thank you, and so will your weekend.
