Server racks are the unsung heroes of the IT world, silently holding together the backbone of modern technological infrastructure. Whether in data centers or small offices, racking a server properly is key to ensuring optimal performance, security, and longevity of your systems. This guide will cover everything you need to know about racking servers, from understanding rack types to installation steps, best practices, and maintenance tips.
What is a Server Rack and Why is it Important?
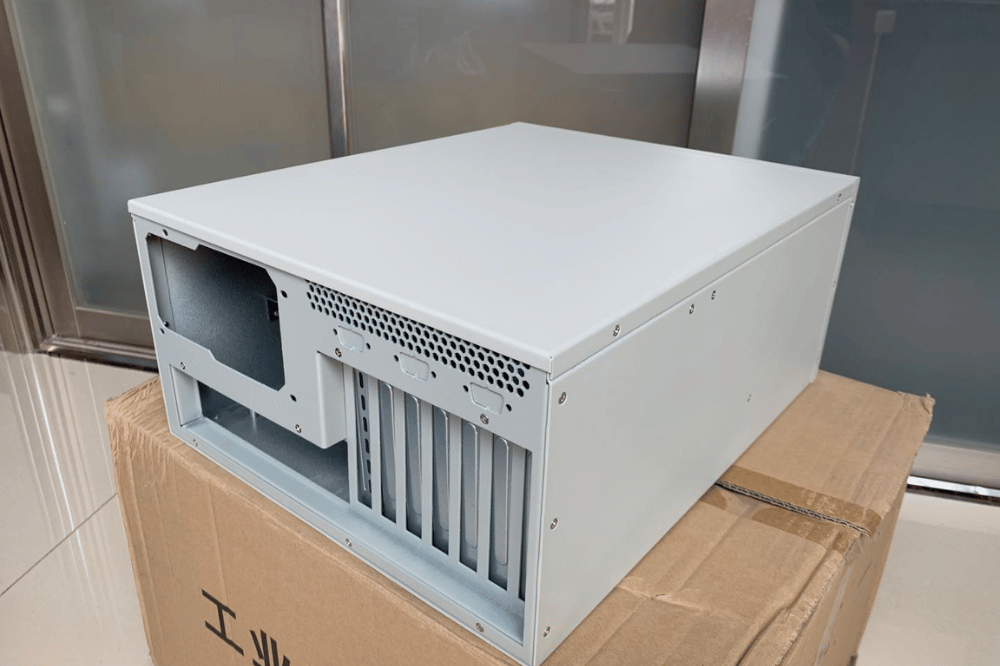
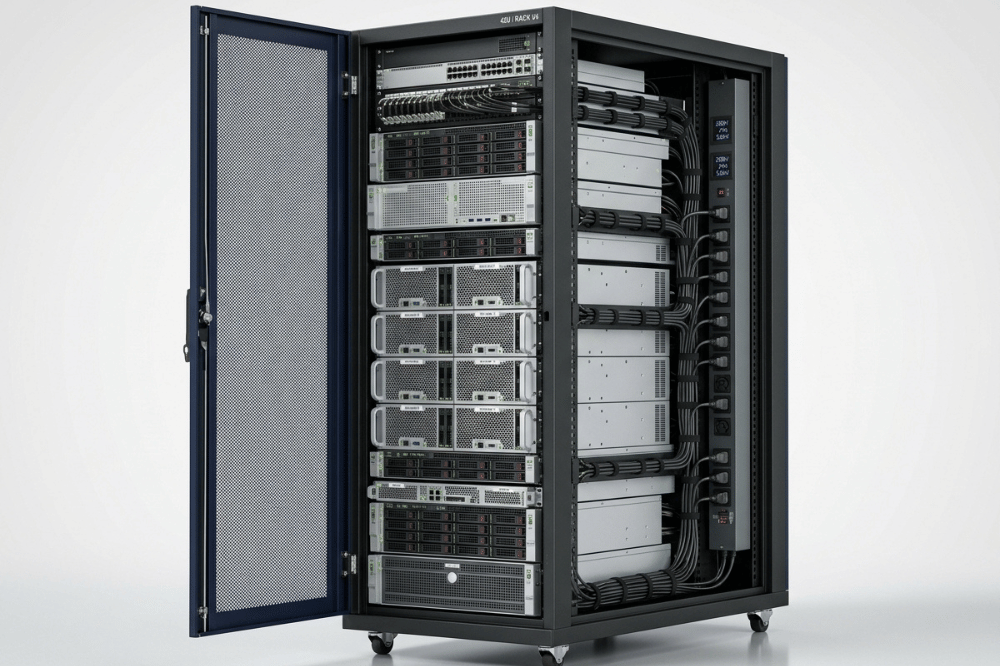
A server rack is a highly specialized frame or enclosure designed to house IT equipment such as servers, switches, routers, and storage devices. These racks organize hardware efficiently while providing structural support, security, and optimal airflow.
Server racks come in various forms, each tailored to specific needs:
- Open-Frame Racks: Ideal for environments with robust climate control, these racks offer easy accessibility but limited security.
- Enclosed Racks: These racks feature panels or doors for enhanced security and airflow management, making them an excellent choice for highly trafficked or unsecured areas.
- Wall-Mounted Racks: These are perfect for small-scale operations or when space is at a premium. They are often used in small offices or retail environments.
Why Server Racks Matter?
Server racks are not just storage units; they are integral to IT infrastructure for several reasons:
- Organization: By consolidating all your hardware in one place, racks prevent chaos and make maintenance easier.
- Cooling Efficiency: Properly ventilated racks ensure that critical systems don’t overheat.
- Security: Enclosed racks protect valuable equipment from physical tampering.
- Scalability: Racks allow for easy expansion as your IT needs grow.

Step-by-Step Guide to Rack a Server
Follow this detailed guide for racking your server securely and efficiently.
Step 1: Choose the Right Server Rack
Not all racks are created equal, so selecting the proper one is crucial. Here’s how to do it:
-
Measure Equipment Dimensions
Most servers are designed for standard 19-inch racks, but their depth can vary. Measure your hardware and add clearance for cables and airflow.
Pro Tip: Ensure your rack depth can handle your current equipment and future additions. -
Check Load Capacity
Verify that the rack can support the cumulative weight of all the devices. For heavy setups, opt for racks with higher weight tolerances. -
Airflow and Ventilation Needs
Enclosed racks should have adequate openings or ventilation systems for heat dissipation, while open-frame racks are better suited for temperature-controlled environments. -
Security Considerations
For sensitive equipment, enclosed racks with locking mechanisms provide additional safety against unauthorized access.
Step 2: Prepare the Server and Rack
Preparation is key to a smooth installation.
-
Power Down
Ensure the server is powered off and disconnected from power sources. Also, unplug all cables. -
Install Mounting Rails
Most rack-mount servers require rail kits for secure installation. Following manufacturer guidelines, attach the rails to both the rack and server.
Pro Tip: Adjustable rails provide flexibility for non-standard equipment sizes. -
Assess the Rack Space
Plan your layout by deciding where the equipment will go. To maintain stability, place heavier servers lower in the rack.
Step 3: Install the Server
This step can be physically demanding, especially with heavy servers. Follow these guidelines:
-
Use a Server Lift
For larger units, a mechanical server lift ensures safety during installation. Alternatively, use a two-person lift for manual handling. -
Align the Server with Rails
Gently slide the server into the rack along the pre-installed rails. It should click or lock into place. -
Secure the Server
Use mounting screws to secure the server to the front and rear of the rack. Double-check for stability by gently shaking the unit.
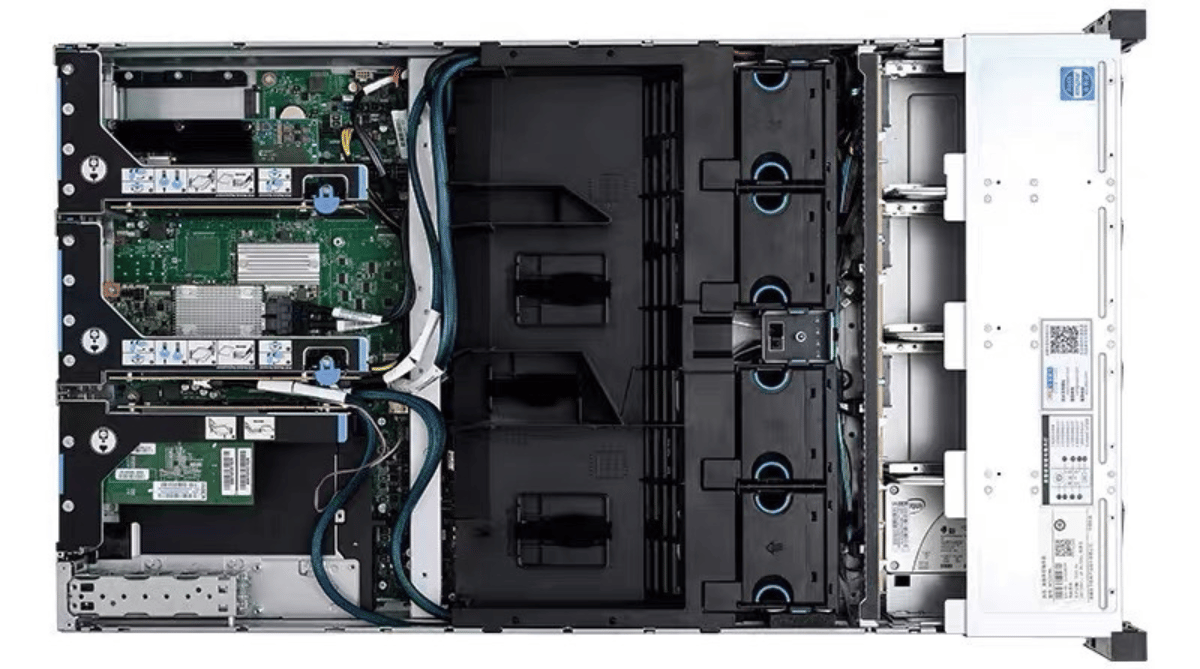
Step 4: Manage Cables
Proper cable management minimizes airflow blockages and simplifies troubleshooting.
- Organize Cables Neatly
Use Velcro straps or zip ties to bundle cables—group similar cables together, such as power, network, or peripheral connections. - Employ a Cable Management Arm
These arms keep cables organized and ensure they flex correctly when the server is moved. - Label Cables
Clearly label all cables for quick identification during maintenance.
Step 5: Power On and Test
After installation, it’s time to ensure everything functions as it should.
- Recheck Connections
Ensure all cables are correctly connected and secure. - Power On the Equipment
Boot the server and monitor for any error messages or hardware issues. - Verify Airflow
Check for proper ventilation. If overheating occurs, reevaluate the server’s placement or the rack’s airflow settings.
Best Practices for Server Rack Installation
To ensure optimal performance and safety, follow these tips:
- Weight Distribution
Place heavier equipment at the bottom of the rack to ensure stability. - Maintain Airflow
Leave at least 1U (1.75 inches) of clearance between servers. To direct airflow, use blanking panels for unused rack spaces. - Secure the Rack
Use anti-tip mechanisms or wall mounts for racks in unsteady locations.
How to Maintain Your Server Rack Setup?
A well-maintained server rack ensures long-term performance and minimizes downtime. Here’s what you should focus on:
Regular Cleaning and Inspection
- Dust Management
Dust can accumulate quickly, blocking airflow. Use anti-static cleaning tools to keep racks and equipment clean. - Check Screws and Rails
Periodically tighten screws and inspect rails for signs of wear.
Cable Health
Cables can degrade over time. Inspect them regularly for signs of fraying, loose connections, or strain.
Monitor Environmental Factors
- Temperature and Humidity
Use sensors to track and maintain optimal conditions inside the rack. - Cooling Systems
Ensure cooling units, such as fans or AC, are functioning correctly.
Adapt to Growth
- Evaluate current setups regularly, and upgrade to modular racks if scaling is necessary.
Frequently Asked Questions
Q: What are the essential steps to rack a server into a rack?
A: To rack a server into a rack, you should first prepare the server and rack, ensuring that you have the appropriate rail kit. Next, attach the inner rails onto the server, ensuring the depth is adjusted to fit the server rack. After that, position the server with the rails aligned to the rack rails, and slide the server into a rack until it locks into place. Finally, secure the server using the screws provided to prevent any movement.
Q: How do I determine the correct rack unit for my server?
A: The rack unit (U or RU) measurement denotes the vertical space available in a rack. To determine the correct rack unit for your server, measure its height in inches and divide that number by 1.75 (since 1U is 1.75 inches). This will provide you with the number of rack units your server occupies, which is essential for planning your rack setup.
Q: Can I mount a server on a 2-post rack?
A: Yes, you can mount a server on a two-post rack, but it’s important to ensure that the server is compatible with this type of rack. For optimal support, you should use universal rails or a rail kit designed for two-post racks and ensure that the server’s weight does not exceed the rack’s load capacity.
Q: What is the significance of adjustable depth in server racks?
A: Server racks’ adjustable depth allows for flexibility in accommodating various server sizes. By adjusting the depth of the rails, you can ensure a secure fit for the server, regardless of its dimensions. This feature is handy when mounting different types of equipment or when the dimensions of the server vary depending on the brand.
Q: How do I prevent downtime when racking servers?
A: Plan the installation during off-peak hours to prevent downtime when racking servers. Before beginning the installation, ensure that all equipment is ready and all necessary tools are available. Follow the installation instructions carefully and double-check connections, such as power distribution units and patch panels, to avoid service disruptions.
Q: What should I consider regarding the weight of the server when mounting?
A: When mounting a server, it is crucial to consider the weight of the server as it affects the rack’s stability. Ensure that the rack can support the total weight of all mounted equipment. Additionally, use the screws provided for secure attachment and distribute the weight evenly to maintain balance within the rack.
Q: How can I efficiently manage heat generated by rack-mounted servers?
A: To efficiently manage heat generated by rack-mounted servers, ensure adequate airflow within the server room. Install cooling systems such as fans or air conditioning units to maintain optimal temperatures. Additionally, consider using blanking panels to fill empty rack spaces, which helps direct airflow and reduce hotspots.
Q: What is the best way to install a rail kit onto the server?
A: To install a rail kit onto the server, refer to the installation manual for the rail kit. Attach the inner rails to the server chassis using the screws provided, ensuring that they are secured tightly. Then, align the outer rail with the rack’s mounting holes, ensuring a smooth slide into the rack when completed.
Q: How do I properly align the server rails and shelves, usually for installation?
A: Proper alignment of server rails and shelves usually involves ensuring that the rails mounted on the rack are level and correctly spaced according to the server’s dimensions. Use a spirit level if necessary, and adjust the depth of the rails to match the server’s size. This will facilitate a smooth installation process and ensure the server slides into the rack without obstruction.
Conclusion
Racking servers correctly can seem like a complex process, but with proper planning and best practices, you can create a secure, efficient, and scalable system. By understanding rack types, following step-by-step installation guides, and maintaining your setup, you ensure your IT infrastructure remains reliable for years. A well-organized and optimized server rack isn’t just about equipment; it’s about creating a foundation for success.